The role of balloons is to make the  task of finding features and checking
measurements easier and faster. Ideally you want the computer to be able to shoulder as much of the
drudge work as possible.
With the DimXpert tool in SOLIDWORKS you achieve both goals.
- Add balloons once, to each of the MBD annotations in DimXpert.
(Valid to SOLIDWORKS 2021)
- The computer uses this rich MBD to automate three tasks.
o Generate the inspection plan
o Match measurement results with features and balloon numbers
o Make reports with balloons on each feature that match the print.
When you retrofit balloons after you measure your parts it can result in more work. You can wind up with two balloon number sequences: one from the print, and one from the balloons added after the measurements were captured. To sort it out you will have to manually edit many or all of the balloons added during the retrofit so they match the print. Here is how you add balloons to DimXpert features.
1. Add all the DimXpert MBD annotations
2. Add the balloons for each feature
3. Double click a DimXpert annotation, add the balloon and move on
This is what a balloon code looks like <C#-[number]>
C# means that the number will be inside a circular balloon and [number] is the digit that will be applied to the balloon on that feature. You can also use create square “balloons.” Instead of C# use S# to create a square balloon.
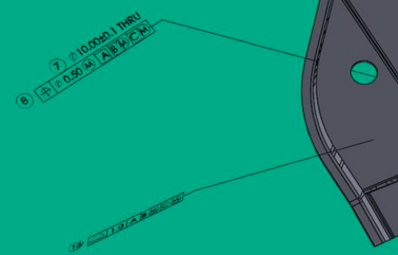
The diameter already has a balloon number 7, but the Geometric Tolerance of True Position does not have a balloon number.
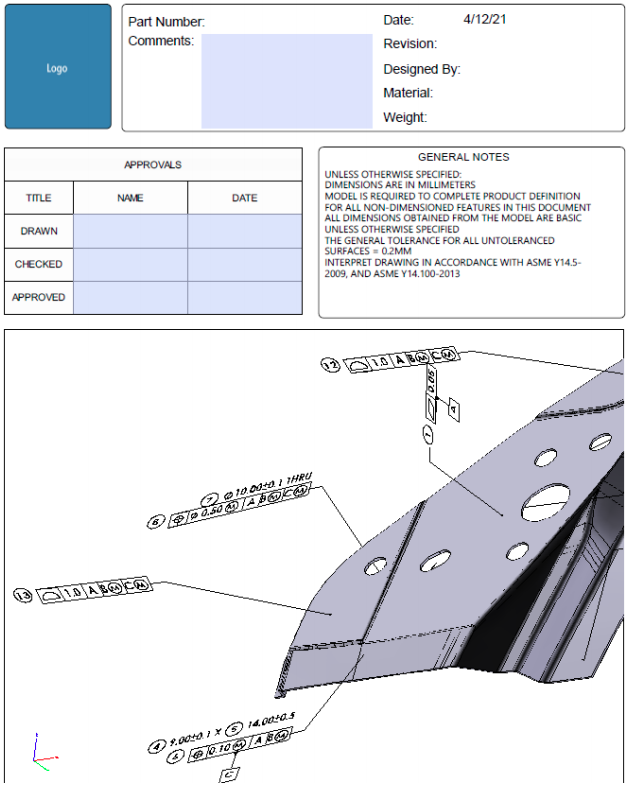
From the DimXpert annotations with balloon numbers, you can print out 2D or 3D PDFs.
If you have SOLIDWORKS Standard you can print out 2D PDFs. With SOLIDWORKS Premium you can generate 3D PDF’s. A screenshot of a 3D PDF example is shown below.

