- Home
- Products
- CheckMate for SOLIDWORKS®
- Reporting
Reporting
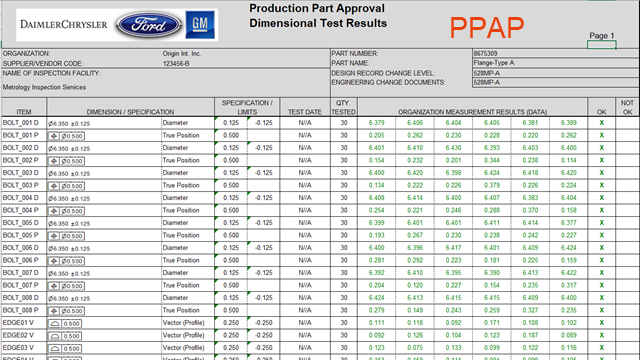
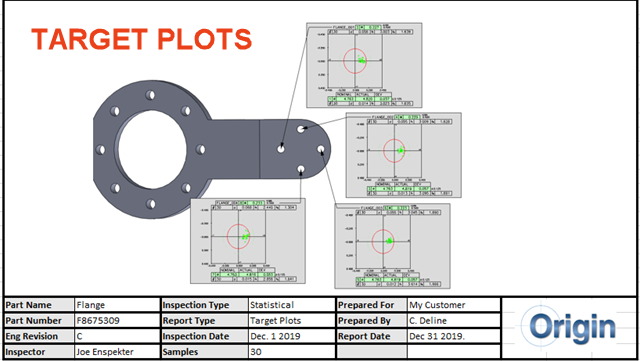
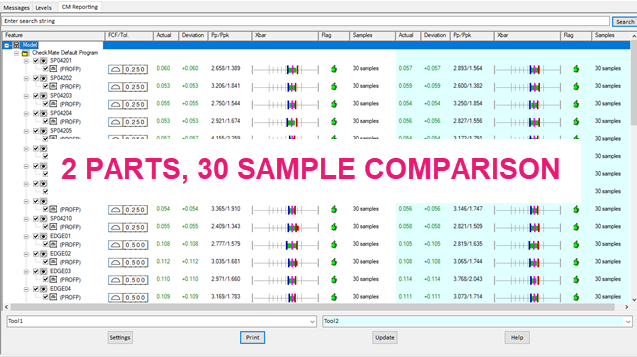
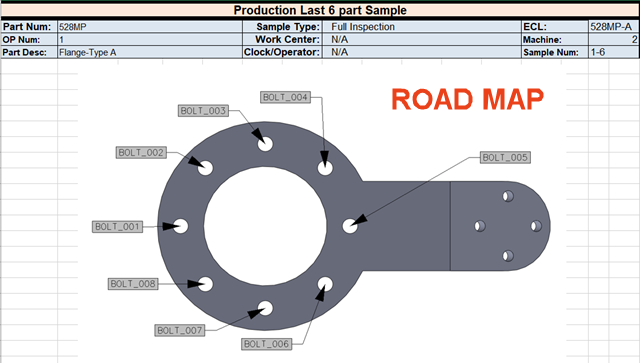
With the growing need to reduce Takt time between Production and Inspection processes Origin has developed a new tool to automate GD&T analysis. It removes the burden of manual results data formatting and delivers an instant snapshot of capability/variance/available bonus.
The result is better flow of all interactions between Production and Quality engineers.
Called the Geometric Tolerancing Manager, the GTM is part of Origin’s powerful reporting module.
You still get all the other fantastic features of Reporting which includes.
- Process measurement results from any CMM, any scanner
- Re-evaluate without re-measuring – CMMs as well as scanners
- Fully automated tracing of every feature by part/lot/sequence number
For a list of the different types CheckMate Reporting can import.


CheckMate Reporting Features
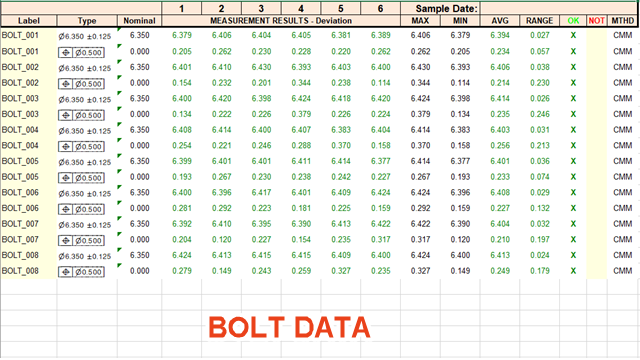
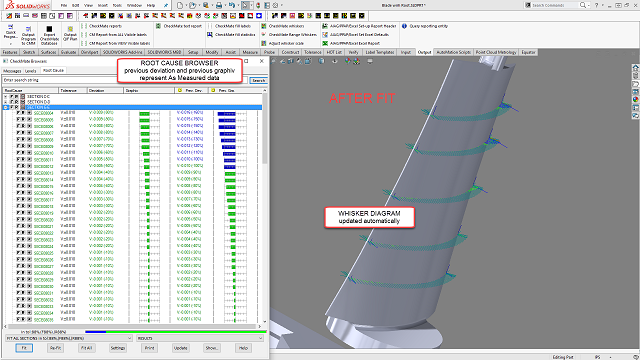
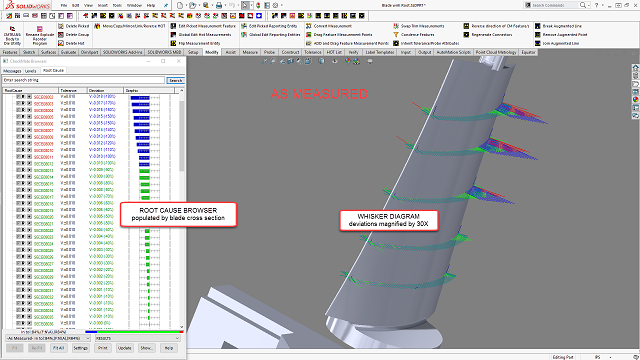
Read in CMM data and programs, eliminate re-measurement. You can load CMM data and into CheckMate Reporting and it generates reports. Where CMM programs are available CheckMate Reporting offers extended capability by first loading the program and then the corresponding measurement results. This enables the user the flexibility of making modifications to feature definitions and outputting the modified report without physically re-measuring the part on the CMM.
CAD compatibility produces compensated as-measured data, regardless of the DME. The Surface and Feature Compare option loads xyz center of ball data from any source, and by comparison with the CAD develops the compensated as measured inspection data. This capability breathes new life into manual coordinate measuring machines and is also a great tool when used in conjunction with other point taking devices such as laser trackers and articulating arms. The SoftOrient Data loader automatically transforms the data from a localized machine coordinate system to CAD.
Measure in one coordinate system, report in several others. Additionally, with the CheckMate utility CMTrans, coordinate system transformations can be applied to measurement data for reporting in coordinate systems in other than the one the part was measured in. In the example of a part measured in a localized coordinate system, with the transformation applied the report can be generated in CAD, tooling, car or ship coordinates.
Overall, the extensive functionality and versatility of CheckMate Reporting combined with interoperability across dissimilar measuring equipment makes it a perfect fit for any dimensional metrology application.

