In-process metrology was once only affordable by the largest enterprises, and only made sense for a limited selection of parts and assemblies, but this has changed.
It’s now possible for sub-tier suppliers to afford in-process metrology. That is, take inspection out of the lab and move it onto the shop floor.
New systems are able to scan complex machined, injection molded or stamped part in minutes – and generate reports that show part acceptance and process capability in seconds. These automated processes are much faster, less prone to human error.
There are significant savings through less scrap. Cash flow and margins are improved. And companies produce better parts, faster.
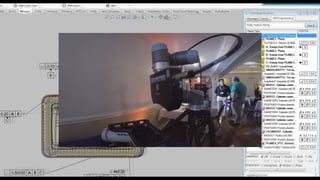
Origin International, 3D Infotech and Inspection Technologies partnered to showcase an automated in-process metrology system at the SOLIDWORKS User Group meeting sponsored by DASI Solutions in Pontiac, MI.
The video shows the process of inspection program creation, part scanning and final report generation in real time.
The video begins with Origin’s CheckMate software reading MBD callouts from SOLIDWORKS and generating a complete inspection program. The part is an air intake housing.
The video then shows how 3D Infotech’s system reads the plan, scans the part and stitches multiple passes into a single point cloud in one minute and 20 seconds. CheckMate software processes the point cloud and generates a complete inspection report in under 10 seconds. Inspection Technologies provides support across North America.
